1 Introduction
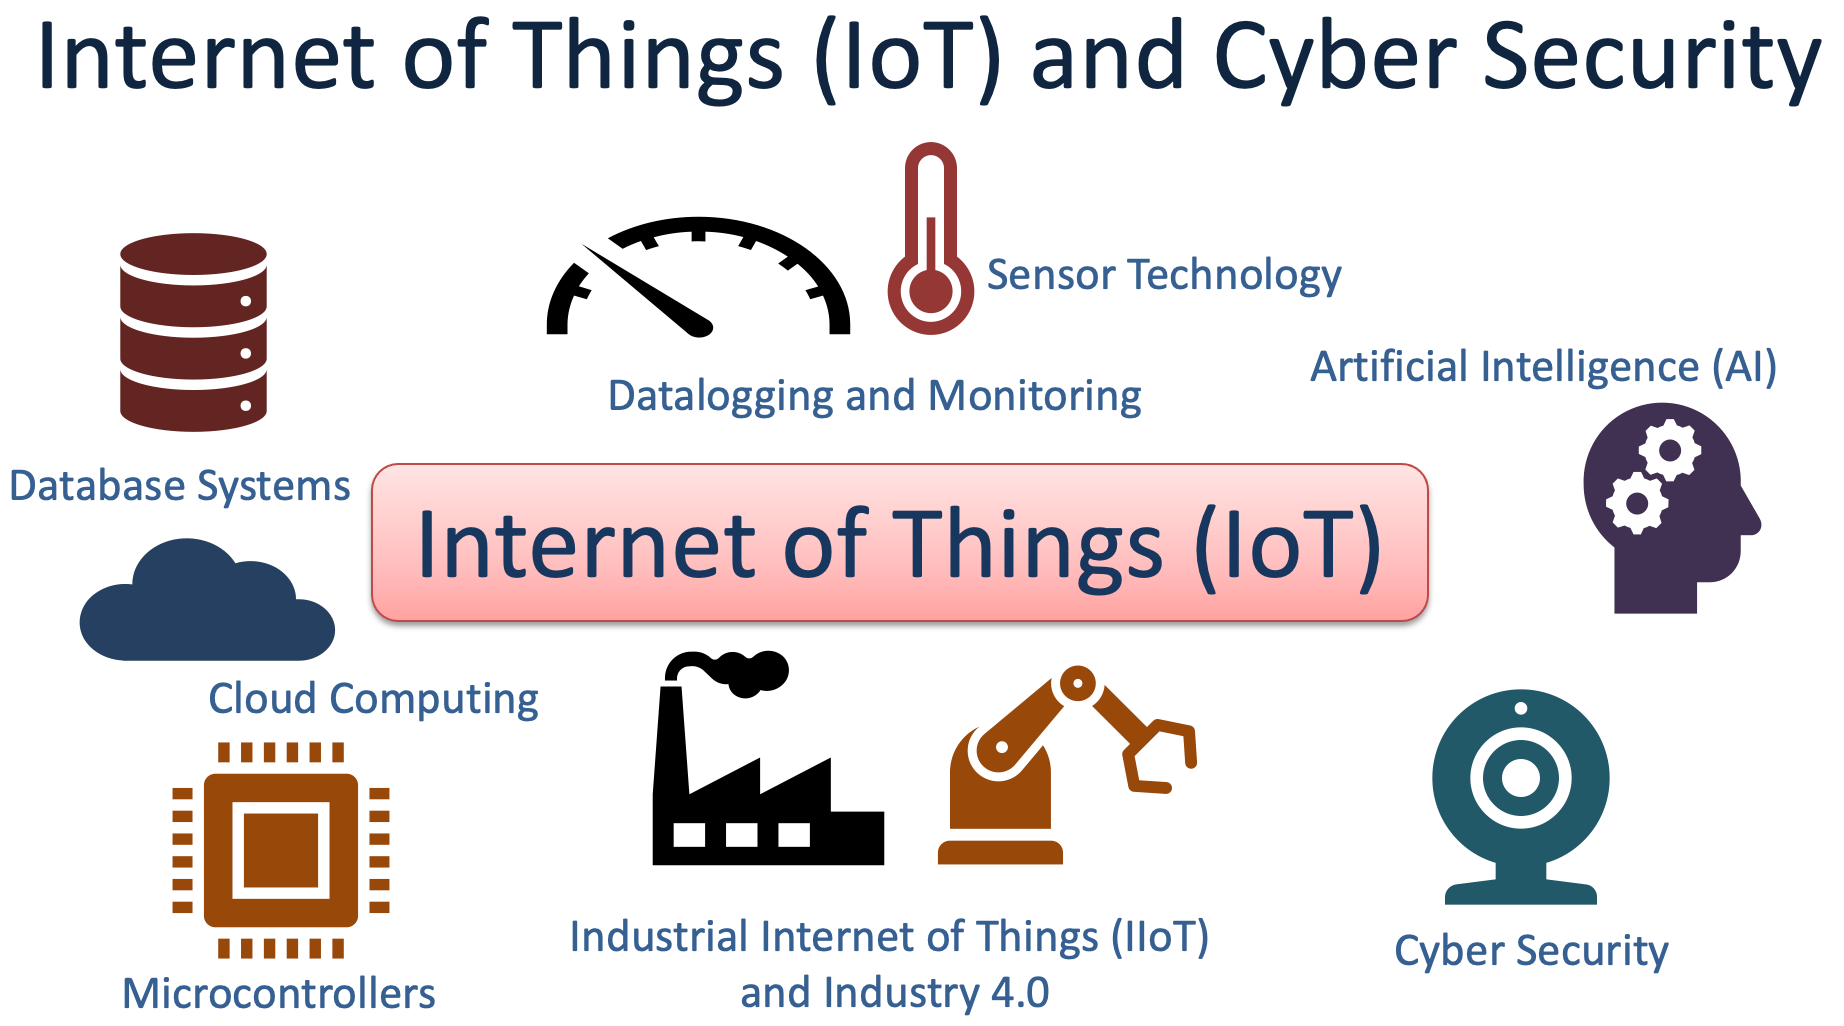
We will learn different aspects within Internet of Things (IoT) and Cyber Security in a practical manner through a set of lab assignments. Therefore you will need some selected IoT Hardware components such as Arduino and Raspberry Pi. It is recommended that you buy these components as soon as possible. We will work with traditional topics within Industrial IT and Automation (Database Systems, DAQ, OPC, Sensor Technology, Control Engineering), but in addition we will put these topics in a wider concept and see how these traditional topics can be applied to and used within concepts like Internet of Things (IoT), Cloud Computing, Web Technology, Industry 4.0, etc. Industry 4.0 is industrial use of IoT Technology (Industrial Internet of Things, IIoT). An important part of this course will be Software, including installation, using and development of Software. Software is the most important part in Digitalization and the era of Internet of Things. "Software Is All Around".
Internet of Things and Cyber Security (YouTube) + PowerPoint (PDF)
In universities many courses have focus on traditional lectures where you learn advanced theory with no foundation in real life applications (known as "passive teaching"). This course is based on Active Learning Principles such as Problem-based Learning (PBL), Learning-by-doing and Flipped Classroom, where you prepare for the lab sessions at home and get help and guidance in class, and where the students can collaborate and work together. There will be no traditional lectures in this course, only practical laboratory work. The student will be in center for the learning process and the teaching outcome will be much higher.
1.1 Microsoft Teams
![]() Do you have Questions or need Help when not in Class?
Do you have Questions or need Help when not in Class?
In this course Microsoft Teams will be used for information, communication, questions and answers, guidance, assistance, etc. Very often someone else is wondering about the same as you - or perhaps someone else has experienced the same thing and found a solution for the problem? Need help outside normal office hours? Perhaps a fellow student can help you if you ask your questions here? For example, if you have installation problems, etc., a fellow student can usually respond better than the supervisor can (outside scheduled hours, evenings, weekends, etc.). You also learn a lot from helping each other.
1.2 Hardware
You will need an Arduino and a Raspberry Pi and some electronic components and small sensors. It is recommended that you buy these components as soon as possible. All hardware will be available in the laboratory, but it is recommended that you buy some of the recommended hardware for personal use, especially online students. Also recommended for campus students since its makes it easier to work with the lab assignments outside the scheduled hours in the laboratory. The total price will be the same as you pay for an ordinary textbook which you need to buy in other courses. In this course all the learning resources are available online and free. This is equipment that you will also enjoy a lot later, as opposed to a textbook that will probably just dust off. All Engineers should have an Arduino and a Raspberry Pi. Note! Selecting and buying IoT hardware and components with the right specifications is an important part of any IoT project and IoT application. So, selecting and buying these components are also an important part of this course.
You need the following hardware in this course:
- PC
- Arduino - It is strongly recommended that you buy your own Arduino, preferably Arduino UNO R4 WiFi, but if you have other versions that also OK. You will also need a USB cable in order to connect the Raspberry Pi to your PC. Note! Arduino UNO R4 WiFi has a USB-C connector, while other versions may use USB-B or micro/mini USB.
- Raspberry Pi - It is strongly recommended that you buy your own Raspberry Pi, preferably Raspberry Pi 4 or the new Raspberry Pi 5, but if you have other versions that also OK. You will aslo need a Power Supply. Raspberry Pi 4/5 uses USB-C. A cable to connect the Raspberry Pi to a monitor or TV is also handy, Raspberry Pi 4/5 needs a microHDMI to HDMI cable. In addition, a standard keyboard and mouse may also come handy.
- Sensors and Components - You need to buy (strongly recommended) these small-scale sensors and components, some are available in, e.g., Arduino Starter Kit.
We will also use hardware only available in the laboratory, such as Air Heater, USB-6008 DAQ device, etc.
Multimeter, Screwdriver 2.5mm, batteries, USB cables, network cables and wires, breadboard, tools, etc. are also nice to have (these things can be bought "everywhere").
Here you find a more detailed Hardware list.
1.3 Software
In this course we will use different software packages. Most of them have you used in other courses. List of Software needed (newest versions available recommended):
- LabVIEW - Graphical Programming. Easy-to use Hardware integration. Here you can learn LabVIEW Fundamentals
- MATLAB - Design, Simulation and Visualization Tool
- Python - General purpose programming language
- Visual Studio/C# - Popular Programming Environment and Programming Language
- SQL Server - Database System from Microsoft
- OPC Software
- erwin Data Modeler - Database Modelling Tool
- Arduino - Open source Hardware/Software Electronics/Prototyping Platform
- MongoDB - NoSQL Database System
- LabVIEW LINX - Possible to use Arduino and Raspberry Pi in LabVIEW
- Fritzing - Open source software for design of electronics hardware and creating circuit diagrams. You need to use Fritzing for designing or documentation of your electrical circuits.
- Windows Azure - Cloud Computing
- Visual Studio Code Visual Studio Code is a simple and easy to use program, and is well suited for creating HTML pages. Small-scale version of Visual Studio. Visual Studio Code is also great for Python Programming
- WinSCP or FileZilla - FTP program for transferring files between local computer and a remote Web Server
(other specialized software might also be needed in some of the labs).
2 Lab Work
| Task | Resources and Information |
| Lab1 | Internet of Things and Arduino |
| Lab2 | Internet of Things and Raspberry Pi |
| Lab3 | Industry 4.0 and Cyber Security |
3 Practical Information
Deliveries: In order to pass this course: Create short Videos (~10min) for each Lab Assignment and make a Final Web Site where you present your work for one of the Lab Assignments. You can freely select which Lab you want to use for the Final Web Site. Feedback given in the different labs needs be adjusted and taken care of in the Final Web Site Delivery.
Workload: The full-time workload for one academic year is 1500 - 1800 hours of study / 60 credits. This is a very practical course where you need to work steady week by week. For a practical course like this it may require more effort than a "reading a textbook" course, but the gain is that you acquire skills that are highly needed by the industry/worklife. There is no traditional exam in this course, so no time is needed for exam preparation and execution. For this course this indicates a workload of (1800h/60credits)*5credits=150h. Weekly workload is then estimated to be approximately 150h/14weeks = 11h/week.
3.1 Videos
Note! The videos you make need to have sound, i.e., you need to talk and explain during the videos.
Panopto: The new Video system for the University is recommended: Panopto - it can be used for creating/recording videos and for storing videos. Then you can later easily sharethe video using different options.
You can also use ScreenPal (previously Screencast-O-Matic. ScreenPal is a Video Creation Tool (Screen & Webcam Recording Tool). ScreenPal has a free version that can be used. Students at USN can also get access to the full version, see more information here.
It is recommended that you structure the videos and the final web site according to the IMRaD structure and that you include a System Sketch.
Tips and Tricks: The video should give an overview of the system you have made. Make sure to answer the main parts of the assignment. Tip: "Pretend" that you have made the system for any given customer/client and this video presents the final system that you have made. Please don't use "school language". No need to say that you are a student working at USN or that this is a lab assignment in course xx, etc. No need to tell how much you have learned, etc. Focus on the system you have made with short introduction, overview of the system, results and short discussions. The purpose is to make an "Arduino Control System", etc. and not a lab assignment.
Your video should typically last 10-15 minutes. You may make longer videos, but remember you shall give an overview of the final working system, and not every tiny detail on the road that leads you there. Remember that someone shall watch the video as well. The maximum length for the free version of ScreenPal is also 15 minutes. YouTube has also a 15 minutes limitation (you can upload longer videos but then you need to verify your YouTube account to get an approval).
Video Checklist (PDF)
Approval: If your work is below a minimum accepted level, you get one extra chance to improve your work. Note! If you don't get approved, you need to make a new updated video of the entire system. So make sure to do it properly the first time.
Extended Deadline? Extended Deadline is normally not given. Make a video of what you have done and deliver it within the given deadlines for each Lab Assignment. If your work is below a minimum accepted level, you get a second chance to improve your work.
3.2 Guidelines
Here are some useful guidlines when it comes to the way you work with the assignments:
- Think about the Assignments as a small real-life industrial Projects, and not a set of tasks, exercises or a “School Assignment“. What does the company that hire you expect from you when you deliver this project? What kind of Quality is expected?
- Try to see your work in a larger context than just an Assignment or a set of exercises. Try to see the big picture. The tasks within the assignment are just small building blocks that ends up with a fully working system.
- It is recommended that you make a simple Work Plan and a System Sketch that gives you an overview of WHAT you should do and WHEN you should do it. Start working on Assignments Today! It is like a puzzle. You need to do it piece by piece.
- Practical Programming Skills: The only way to learn Programming is to do a lot of coding by yourself, and not only small examples and code snippets with a few lines of code. You need to make large Applications. It takes time and may be demanding, but that's the only way! The reward is knowledge that goes deep, and you will gain skills that are highly desired by the industry and work life.
- The Tasks described in the Assignments are somewhat loosely defined and more like guidelines, so feel free to interpret the Tasks in your own way with some Personalized touch.
- Feel free to Explore! Make sure to Add Value and Creativity to your Applications! Try to Add Extra Value and be creative compared to the simplified examples given by the supervisors, in that way you learn so much more.
- You can collaborate and share ideas, but make sure not just copy work made by others
- Think Outside the Box! Just don't follow a recipe - Think like a Chef that makes his own recipes. Add spices and ingredients and make it your own. The reward is knowledge that goes deep, and you will gain skills that are highly desired by the industry and work life.